Instructions for printing and assembling patterns
- Before printing a pattern, check the printer settings by setting the scale to 1: 1 or 100% or “real size”;
- Print a 10×10 test page and measure with a ruler the accordance of its sides to 10 cm;
- Open the PDF file and check for frames and pages on the sheets. Frames on all sides equal 7 mm;
- Print all pages of the pattern file;
- Cut the frame of each sheet from two sides – from the corner opposite to the page numeration – left and top sides (see the photo 1);
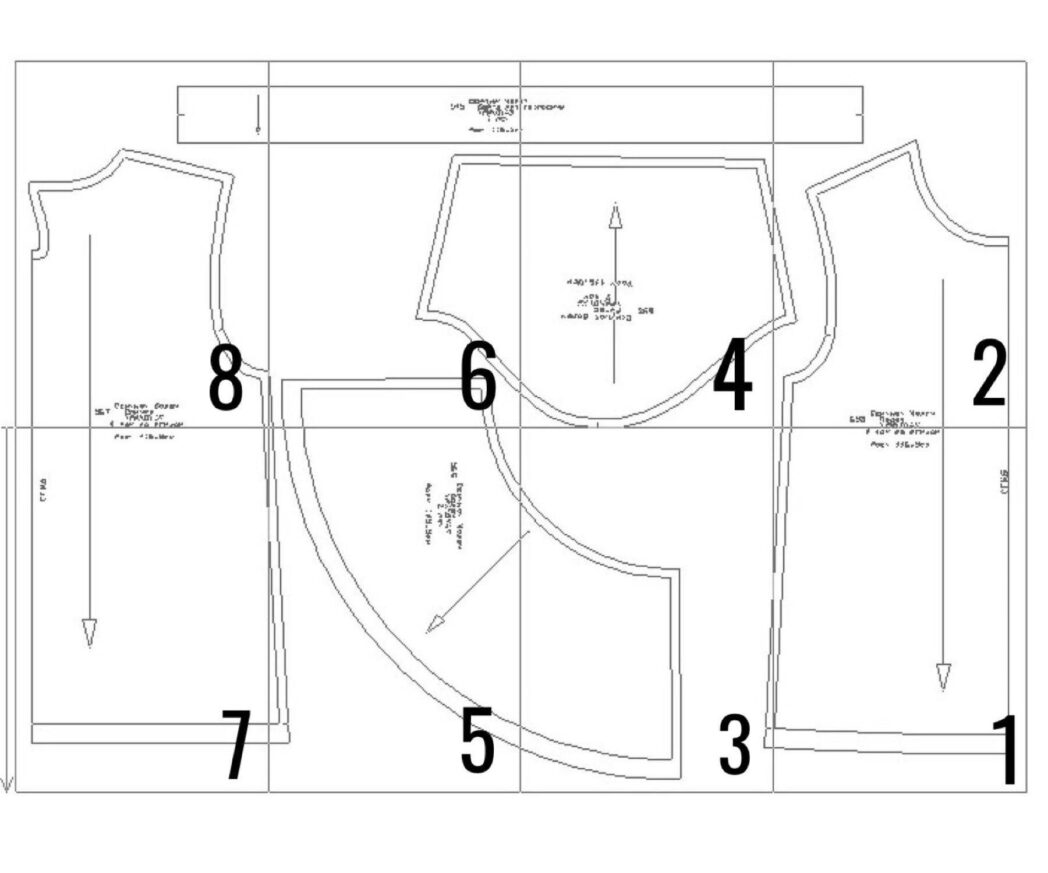
- Lay out the sheets of the pattern (the sheets are arranged vertically in 4 rows) in the sequence: sheet 1 – bottom right corner, sheet 2 – above sheet 1 on the short side, 3rd sheet over the second, 4th over 3rd and etc…, the last sheet in the layout is left upper corner (see the photo 2).
IN STANDARD LAYOUT ALWAYS 4 VERTICAL ROWS. If it is important for you to determine the number of horizontal rows, then divide the number of sheets in the layout by 4 (for example 36/4 = 9).
A DRAWING IS ALWAYS MATCHES! If you lay out the sheets correctly, then the lines on all sides will be a continuation of adjacent sheets.
- Coat the remaining frames on the sheet with clerical glue and join the adjacent sheets, combining the lines of the drawing. It is easy to glue in horizontal rows of 4 sheets.
- Cut the patterns along the allowance line (on the outside of the closed outline), cut notches.
- Tuck allowances are not cut! A tuck is cut out only inside the pattern, that is, the external outline of the detail allowance remains closed, as it is in the drawing (see photo 4).